OK so as promised here are the build photos and a little of a in the making story.
As stated in the original post I wanted to add this as a FW sump to increase water volume and stability. If anyone has ever thought of doing this I will say that it was fairly easy. I will admit that I am a handyman when it comes to projects like this but it was well within the reach of anyone willing to try.
On with the build!
First gather materials...
Old 55 gallon tank (free off CL, Price varies with luck!)
Sheet of Plexiglas/Acrylic 1/4 thick but less would work (free from work)$20 at HD
Stackable containers (Wal-Mart special $4.50 a tote=$18 total)
1 3/4 in Diamond hole saw ($15 from glass-holes)
1 Inch Bulk head ($5 from glass holes)
1 inch PVC pipe ($3 from HD)
Misc PVC items ($10 from HD)
GE 1 Silicone x3 tubes ($18 total)
Little Giant return pump 2-MDQ-SC ($30 of CL **most expensive part normally**)
Overflow box $50 off CL (normally 65$ or you can make your own)
x2 300 watt Eheim Jager heaters ($60 total)
Some egg crate I had laying around ($5-10 at HD in light section)
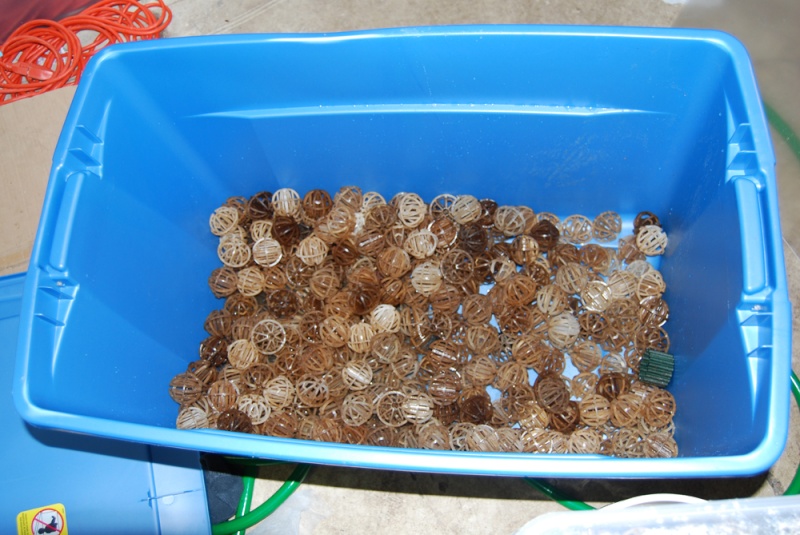
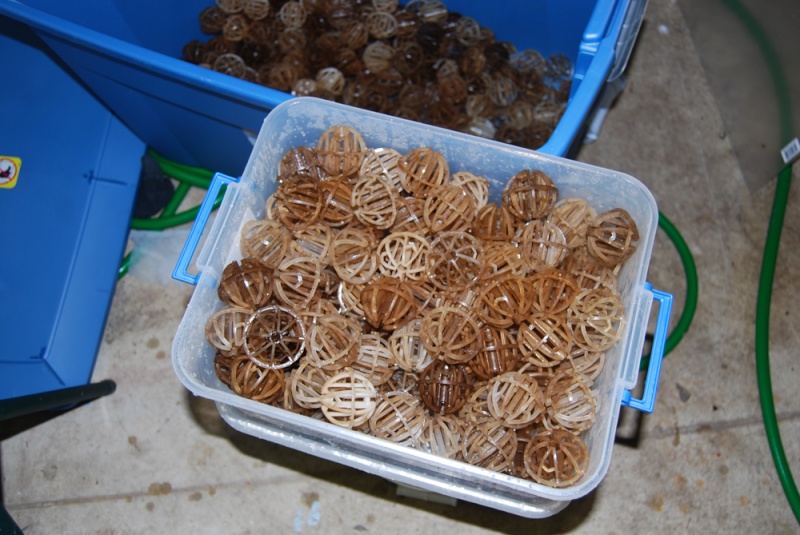
and finally the bio-balls, I worked out a deal with the LFS that has a huge mess of these things cycled to buy them from their "used" stock. It cost me $75 total for these ready to go bio balls... now I know what your thinking! thing is I needed this sump up and running as soon as possible since I have fish being held by a friend who is looking to off load them as soon as possible...
You could also use pot scrubbers here, I found mixed reviews on them but believe they would work just as well.
Anyways I got half of a 35 gallon tote full for that price which when compared to a fresh batch is still saving a decent amount...
SO in total I have $284 invested in the sump. Now I will say this... Given that price tag it is getting close to some of the pre-made ones online but their size is much smaller and often without the bio-balls and pump.
OK on to the good stuff!
First before I got started I waited on the hole saw to arrive--ordered Sunday got Tuesday!
First time I have ever drilled a tank so this was a tense moment for me.
Turn on the hose get a decent flow going. Pick the spot on the glass where you want to hole and attach the hole saw to a good power drill (Dewalt 18V works for me)
Start at close to a 45 degree angle to get a notch started. As the notch deepens slowly tilt the drill upright. There is no pressure needed while doing this! the weight of the drill is more then enough to push down. You are grinding through the glass not cutting so just keep that in mind. The faster you go the hotter the bit gets and the less life span it has... so easy does it.
You will see I placed a towel at the bottom of the tank to catch the glass cutout, don't forget this step it would be horrible to successfully cut through your tank only to shatter the other side with the cutout!
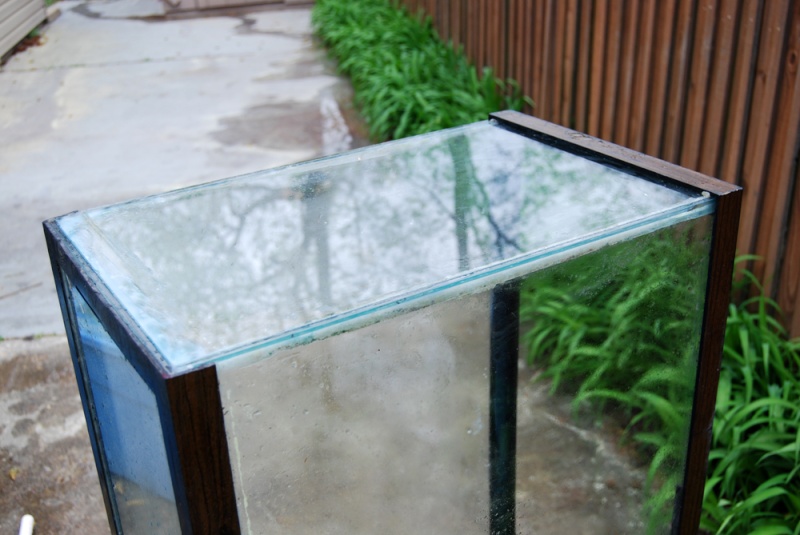
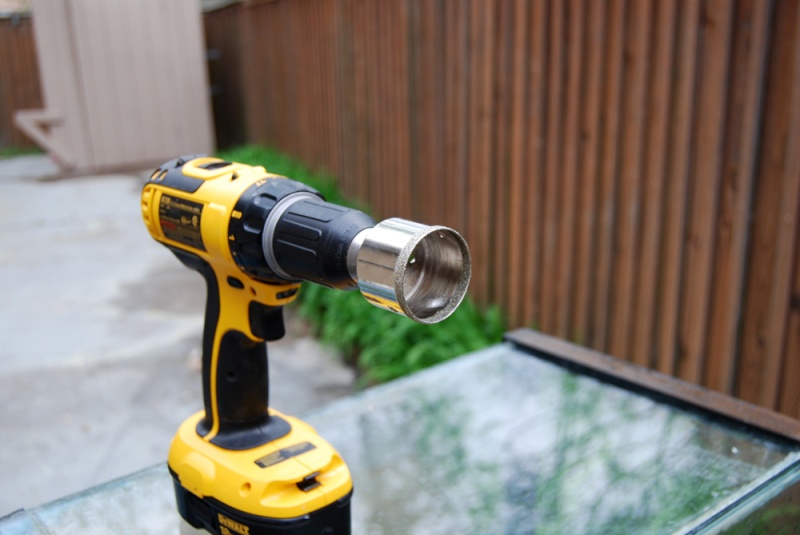
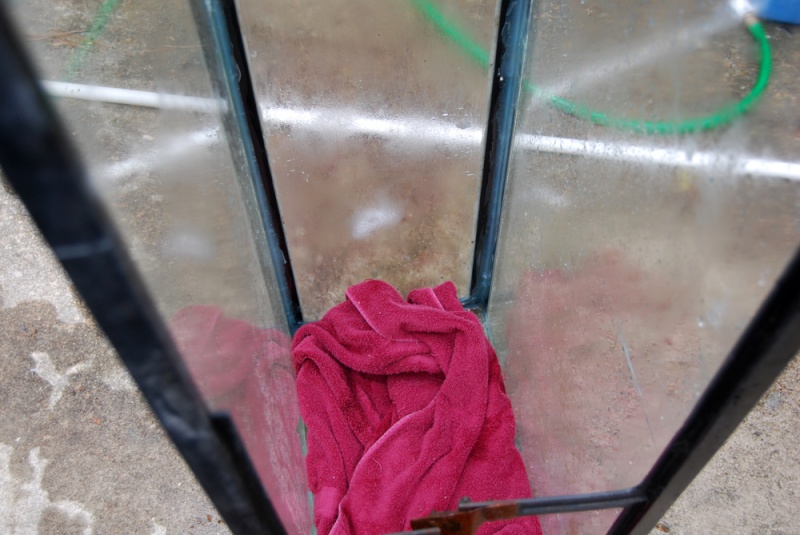
So hole is cut out and everything look great!
Now install the bulk head!
Easy fit and the rubber gasket provide all the protection I need.
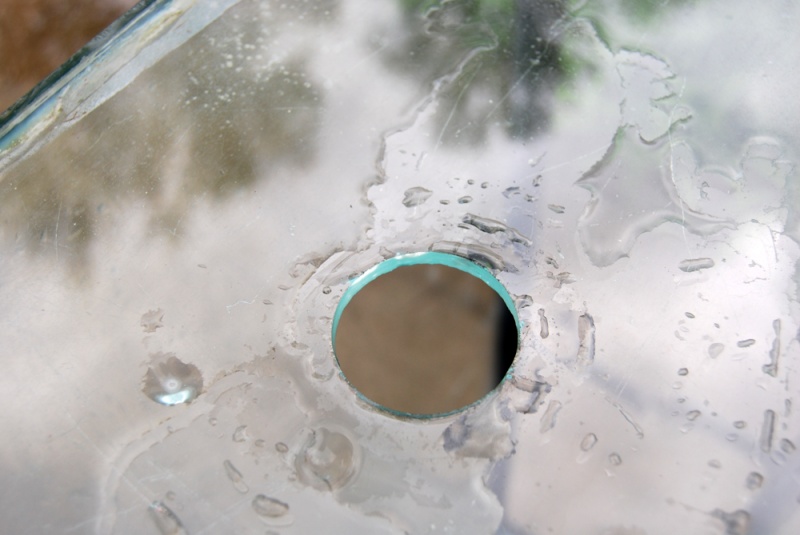
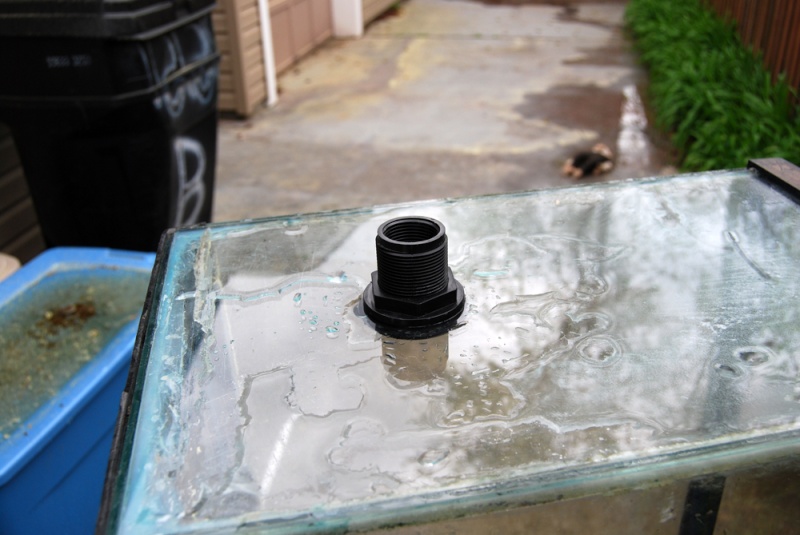
Now that I know the tank has not cracked and everything is going well it is time to reseal this only tank. I don't have many pictures of this but I took a razor blade and scraped off the old beat up silicone lining, cleaned it extremely well and then tapped everything off. Once tapped off simple run a bead of silicone down the seem and gently smooth with your fingers. **Remove tape quickly after putting down silicone or it with become part of the tank haha***
So I went to Wal-Mart and picked up my containers they are fairly cheap and have locking lips. I ensured they where stackable.
Took a 1/4 drill bit and made hole aligning the bottom of one tote with the top of another.
Now that I know how big the totes are I put in a sheet of Plexiglas to act as a baffle in the sump. This first one run from the top to 2 inches above the bottom of the tank. This baffle forces water to flow down through the totes and under it minimizing bypass.
(Tape and wood block used to hold the sheet where I wanted it while silicone dried)
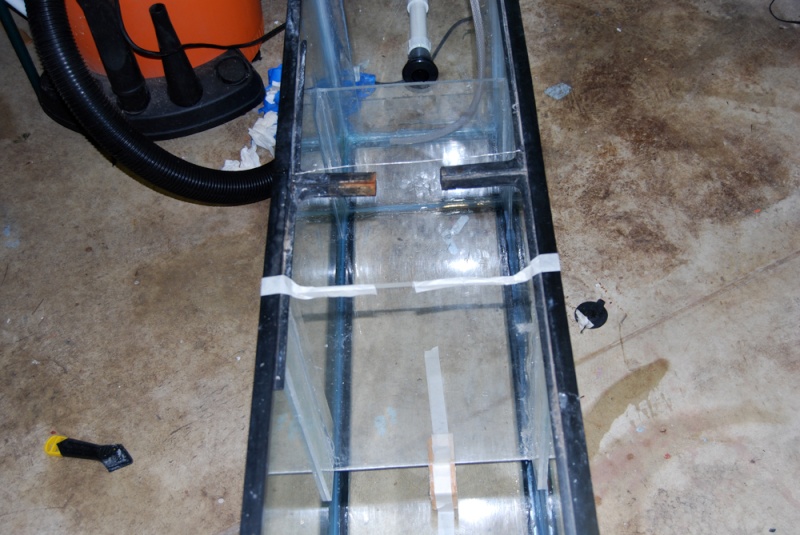
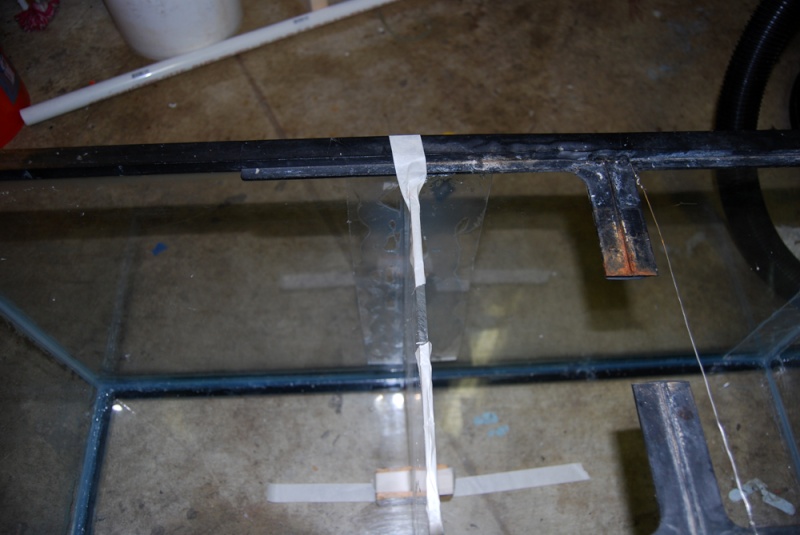
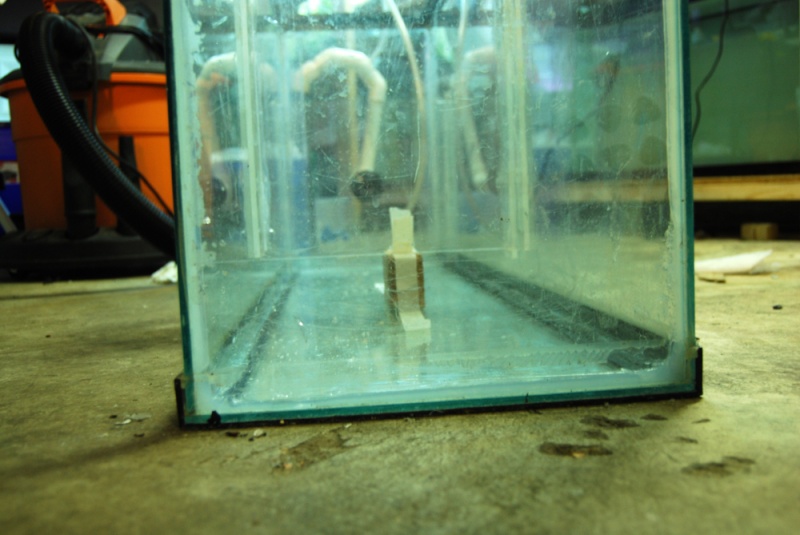
Next is another baffle before the pump. This serves a few purposes. It determines the water level in the sump provides another spot for aeration of the water and makes a constant level in the middle of the sump. This middle spot is where the heaters or another misc equipment can be put. It may be made into a planted sump later.
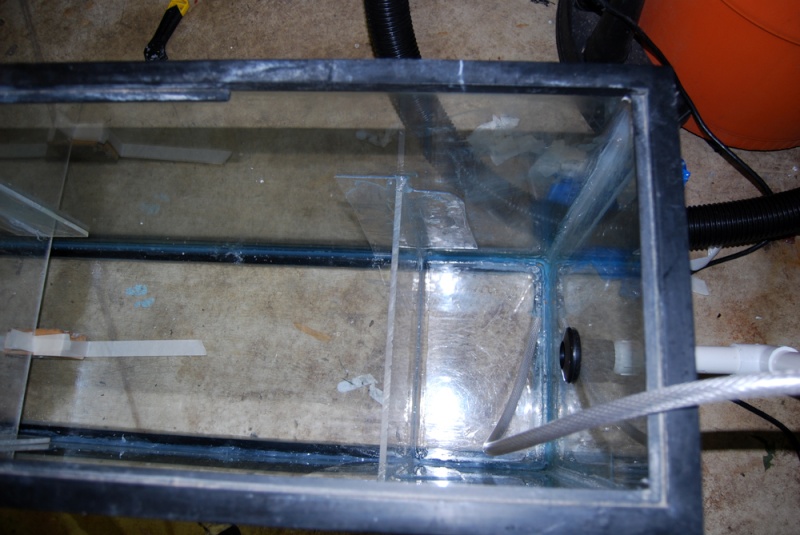
I placed small strips on either side of the sheet against the glass to provide a better seal and to make sure the silicone would not give way under pressure.
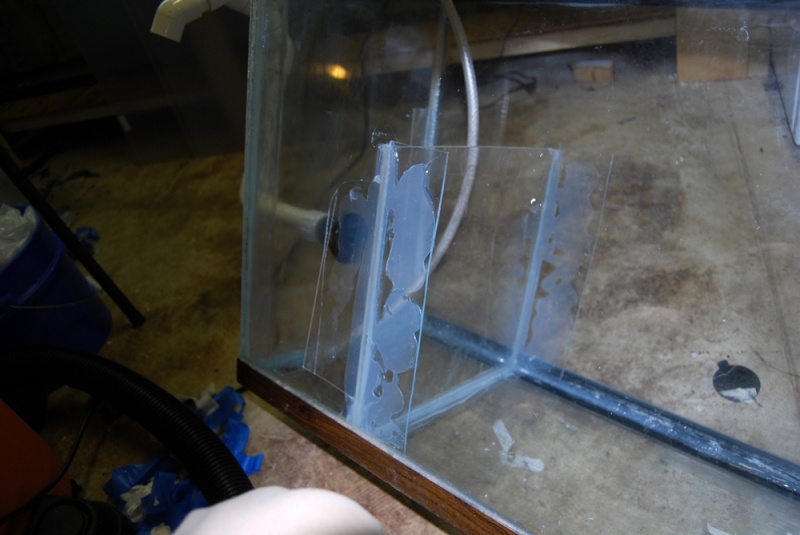
Next I cut out the egg crate and placed it in the bottom of the first part of the sump. Then two small 2 inch strips and finally a top for it. It forms a small egg crate box. The totes sit on top of this and the water flows through it.
With that done I laid in the totes and made sure everything fit well.
Installed the two heaters. I will say that these heaters are extremely powerful! They keep things within .5 of the desired temp and that is with an open top to the tank and sump!
You could get away with one heater in there but I went with caution on this build and got two for backup and hopefully extended life.
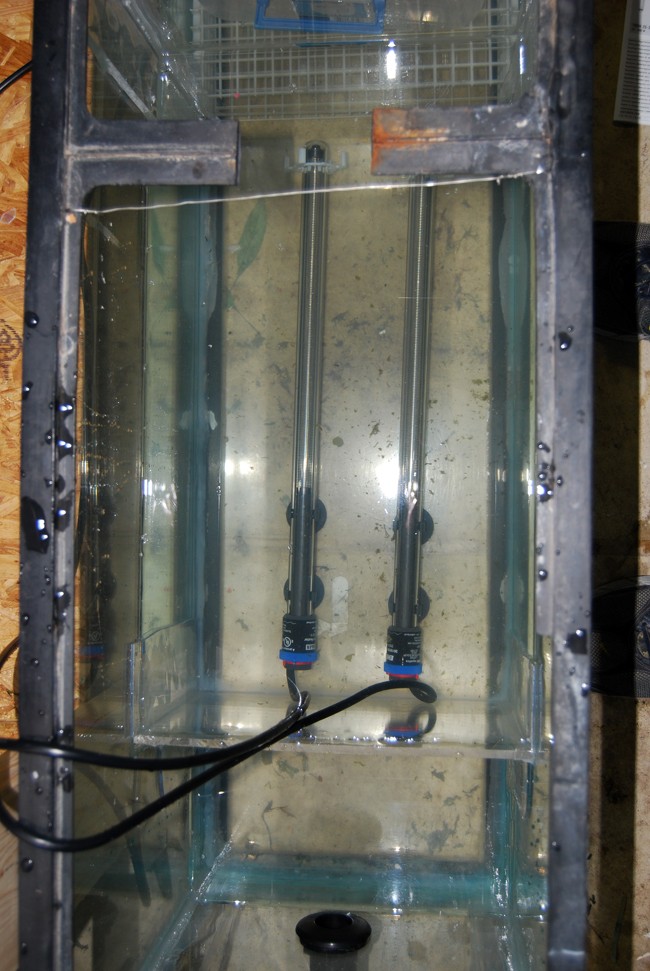
The sump was up and running for a few days before I added the bio balls.
Once I filled the totes I placed them back in the sump and away it went.
With a little tweaking on the flow rates I am able to get close to full pump output. Something around 500+ GPH. The water coming out of the pump is very strong and i will build a spray bar for it to decrease the current it generates.
It has been up and running for a few days and I have to say the thing is an ammonia eating machine. I use pure ammonia to test it's rate of filtration and it can take 3-4 ppm down to trace amount within 6 hours.
If you have ever thought about building something like this I highly recommend it! It was a fun project and while somewhat costly I enjoy knowing I made something!
Best of luck to all you DIY'ers
